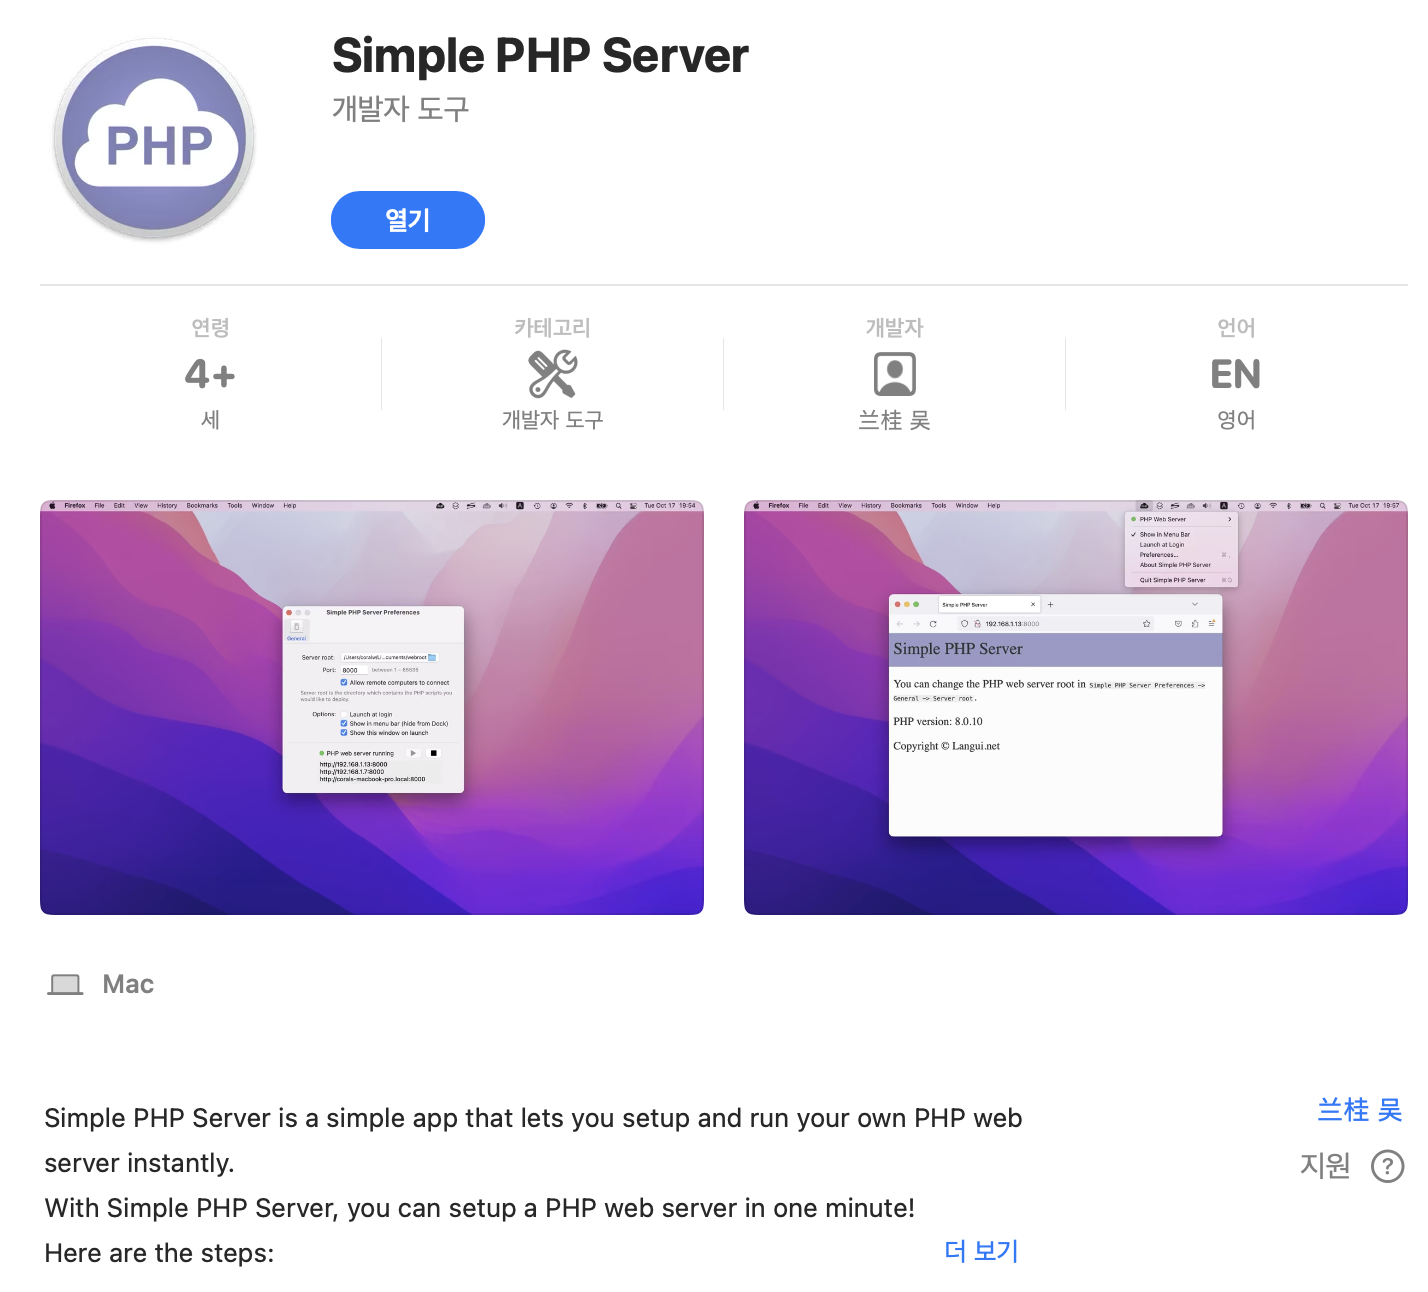
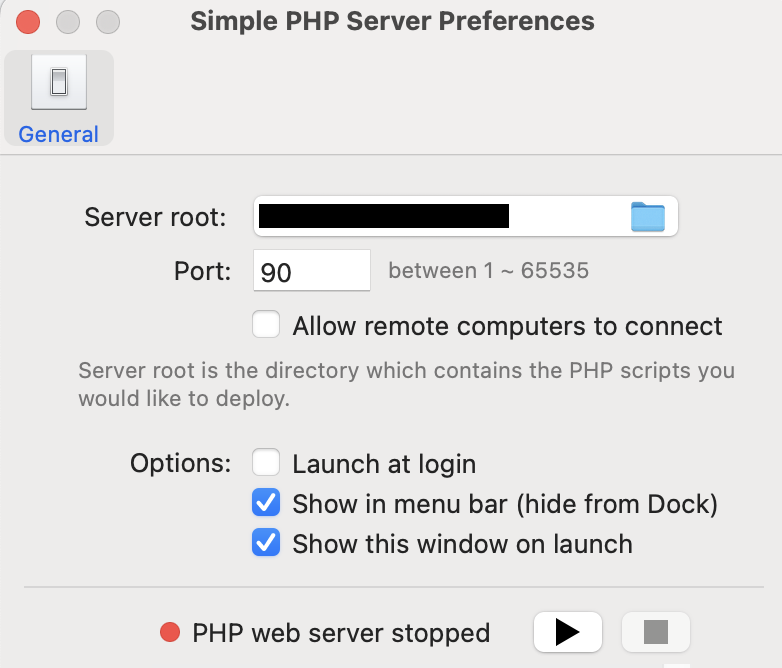
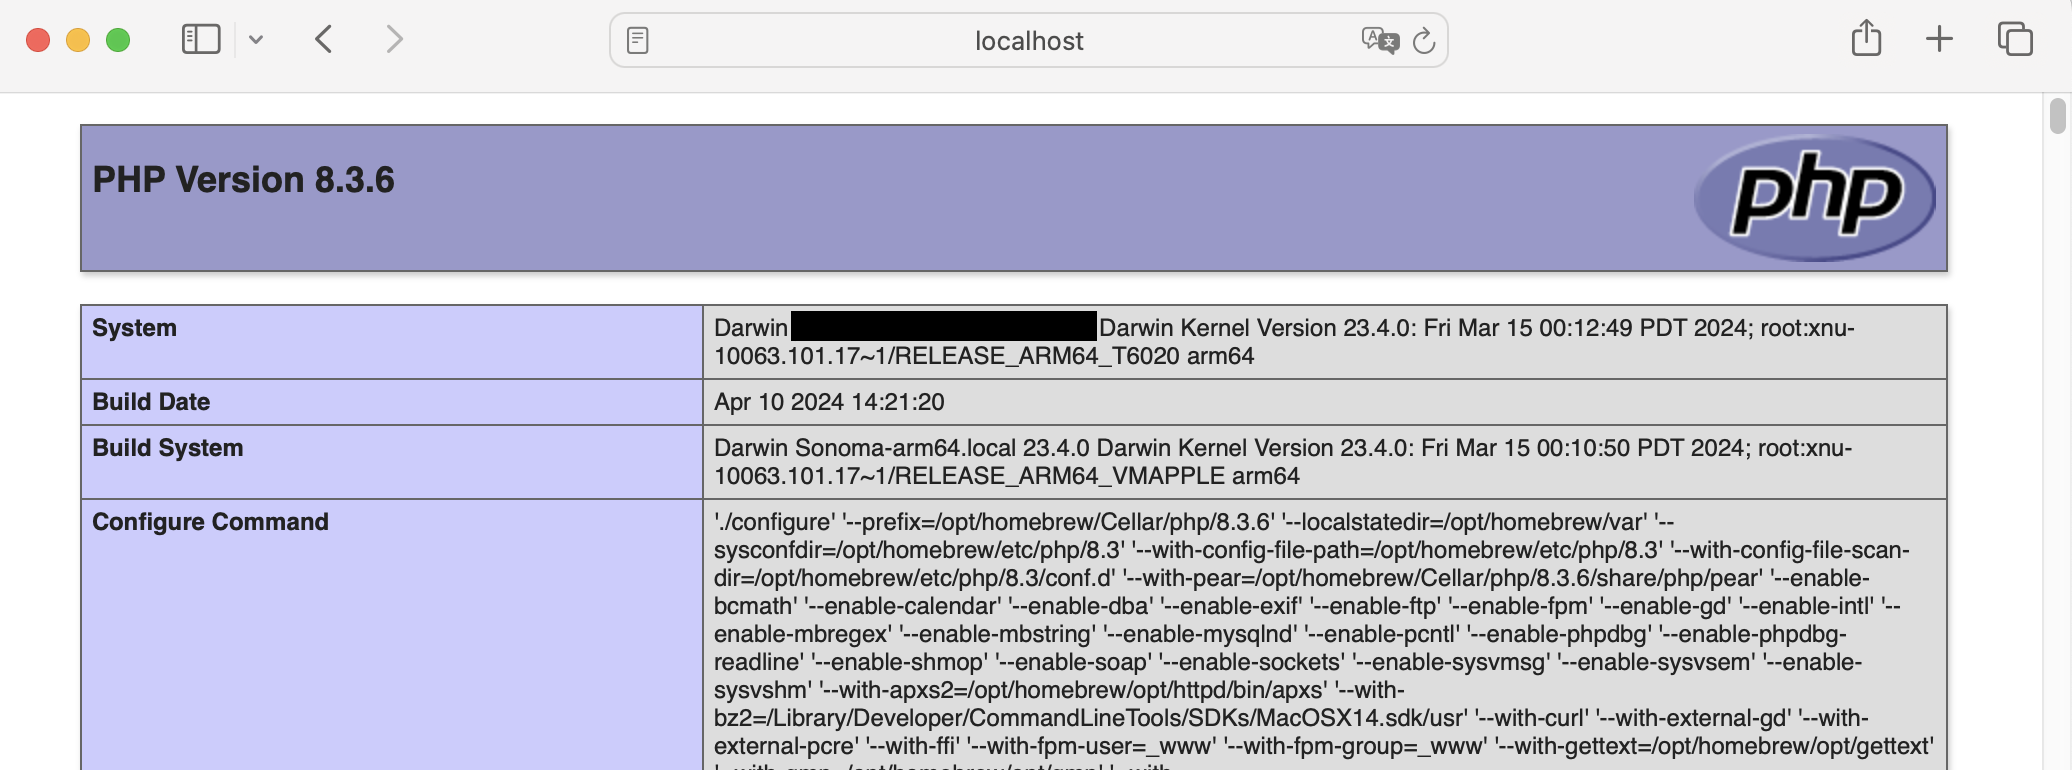
Mac 에서 httpd+php 설치하기 By starseat 2024-05-10 09:35:31 php/ci Post Tags 개인 PC 를 Window 에서 Mac 으로 바꾸고 PHP 개발 건이 생겨 세팅하는김에 글을 작성한다. # XAMPP 시도 apm 인 XMPP 를 설치하려 하니 이상하게 난 설치가 안되었다. 혹여 XMPP 로 설치하고자 하면 다음 링크에서 다운로드 받은 후 dmg 파일을 실행시키면 된다. - [https://www.apachefriends.org/index.html](https://www.apachefriends.org/index.html) - [SourceForge XAMPP link](https://sourceforge.net/projects/xampp/files/XAMPP%20Mac%20OS%20X/) - [Mac XAMPP 설치 블로그- 모던 PHP 유저 그룹 블로그](https://blog.naver.com/modernpug/222689355753) # App Store - SimplePHPServer XAMPP 가 안되서 다른 방법을 찾는 중에 **App Store** 에서 **SimplePHPServer** 란 앱도 발견하여 공유한다.  앱을 다운받고 실행하면 아래 그림처럼 앱이 켜지고, 경로와 Port 를 입력하면 실행이 된다.  사실 이거다 싶어서 잘 활용하고 있었는데 *<span style="color: #ab4642">PHP 의 Session 이 안되는 것 같았다.</span>* 원인을 찾아보려 했지만 로그로는 제공하지 않는 함수라고만 뜨고 관련 내용을 찾지를 못하였다. (나중에라도 찾게되면 다시 올려야지) # 개별 설치 앞의 두가지 방법 모두 제대로 개발할 환경이 안되어 결국 세팅하기로 마음 먹었다. 도커로 띄워도 되지만 PHP 페이지를 개발 할때마다 도커로 띄우는게 더 번거로울거 같아서 그냥 세팅했다. 먼저, Mac 에서는 기본적으로 httpd 가 설치 되어 있다. 이걸 사용해보려 했지만 구글링을 하다보니 뭐가 잘 안된다는 글들이 많아서 새롭게 세팅했다. 오늘(2024/05/10) 기준 설치되는 버전이다. ```text httpd: v2.4.58 php: v8.3.6 ``` ```text > httpd -v Server version: Apache/2.4.58 (Unix) Server built: Feb 10 2024 01:12:11 > php -v PHP 8.3.6 (cli) (built: Apr 10 2024 14:21:20) (NTS) Copyright (c) The PHP Group Zend Engine v4.3.6, Copyright (c) Zend Technologies with Zend OPcache v8.3.6, Copyright (c), by Zend Technologies ``` ## 내장 httpd 중지 내장 httpd 가 이미 실행 중인 경우 먼저 종료하고 자동 로드 스크립트를 제거해야 한다. ```text > sudo apachectl stop > sudo launchctl unload -w /System/Library/LaunchDaemons/org.apache.httpd.plist 2>/dev/null ``` ## httpd, php 설치 **brew** 로 httpd 와 php 를 설치한다. ```text > brew install httpd > brew install php ``` ## php 설정 변경 및 확인 다른 블로그 글들을 보면 httpd 설정을 먼저 하라고 하지만 php 에서 확인할 사항이 있어 php 를 먼저 진행한다. 다음 경로로 이동하여 `php.ini` 파일을 열어 `short_open_tag` 를 **On*** 으로 수정한다. ```text > cd /opt/homebrew/etc/php/8.3 > vi php.ini ... ; This directive determines whether or not PHP will recognize code between ; <? and ?> tags as PHP source which should be processed as such. It is ; generally recommended that <?php and ?> should be used and that this feature ; should be disabled, as enabling it may result in issues when generating XML ; documents, however this remains supported for backward compatibility reasons. ; Note that this directive does not control the <?= shorthand tag, which can be ; used regardless of this directive. ; Default Value: On ; Development Value: Off ; Production Value: Off ; https://php.net/short-open-tag short_open_tag = On # Off -> On ``` 그리고 `/opt/homebrew/opt/php/lib/httpd/modules/` 결로로 이동하여 `libphp.so` 가 있는지 확인한다. ```text > cd /opt/homebrew/opt/php/lib/httpd/modules/ > ls libphp.so ``` 파일이 존재하면 `/opt/homebrew/opt/php/lib/httpd/modules/libphp.so` 를 복사해둔다. ## httpd 설정 변경 httpd 가 설치된 경로로 이동하여 `httpd.conf` 파일을 수정하자. ```text > cd /opt/homebrew/etc/httpd > vi httpd.conf ``` - Port 번호 변경 brew로 설치하면 포트번호가 8080 으로 되어 있는데 http 의 기본 포트인 80 으로 변경하자. ```text # # Listen: Allows you to bind Apache to specific IP addresses and/or # ports, instead of the default. See also the <VirtualHost> # directive. # # Change this to Listen on specific IP addresses as shown below to # prevent Apache from glomming onto all bound IP addresses. # #Listen 12.34.56.78:80 Listen 80 ``` - 라이브러리 변경 `mod_rewrite.s` 를 검색하여 주석 해제하고, 그 다음줄에 `LoadModule php_module ` 작성 후 아까 php 설정 부분에서 복사한 내용을 추가한다. ```text LoadModule rewrite_module lib/httpd/modules/mod_rewrite.so LoadModule php_module /opt/homebrew/opt/php/lib/httpd/modules/libphp.so ``` - 사용자 변경 User 와 Group 을 변경해야 되는데 User 가 뭔지 모를 경우 저장(Esc > :wq) 후 `whoami` 를 입력하여 확인한다. ```text > whoami mymac ``` 그리고 `httpd.conf` 를 다시 열어 User 를 검색한다. (mymac 은 예시이다.) (User 부분은 LoadModule 부분에서 조금만 내리면 있다.) User 엔 `whoami` 로 나온 계정을 입력하고, Group 엔 `staff` 을 입력한다. ```text # It is usually good practice to create a dedicated user and group for # running httpd, as with most system services. # User mymac Group staff ``` - ServerAdmin 변경 ServerAdmin 을 localhost 로 변경한다. ```text # # ServerAdmin: Your address, where problems with the server should be # e-mailed. This address appears on some server-generated pages, such # as error documents. e.g. admin@your-domain.com # ServerAdmin localhost ``` - DocumentRoot 변경 이 부분은 바꿔도 되고 안바꿔도 되는데, httpd 의 Root 경로를 바꾸고 싶을 경우 변경한다. (나는 설치중엔 바꾸진 않았지만 설치 확인이 끝난 후 변경 할 것이다.) ```text # # DocumentRoot: The directory out of which you will serve your # documents. By default, all requests are taken from this directory, but # symbolic links and aliases may be used to point to other locations. # DocumentRoot "/opt/homebrew/var/www" <Directory "/opt/homebrew/var/www"> ``` - AllowOverride 변경 AllowOverride 를 All 로 변경한다. AllowOverride 를 검색하면 여러개가 나올 것인데 270 번째 라인 근처의 항목을 변경한다. ```text 265 # 266 # AllowOverride controls what directives may be placed in .htaccess files. 267 # It can be "All", "None", or any combination of the keywords: 268 # AllowOverride FileInfo AuthConfig Limit 269 # 270 #AllowOverride All # None -> All ``` - 시작페이지에 index.php 추가 dir_module 부분을 찾아 **index.php** 를 추가해준다. ```text # # DirectoryIndex: sets the file that Apache will serve if a directory # is requested. # <IfModule dir_module> DirectoryIndex index.php index.html </IfModule> ``` - php 설정 추가 `httpd.conf` 제일 하단에 다음 내용을 추가한다. (`shift + g` 를 누르면 문서 끝으로 이동된다.) ```text AddType application/x-httpd-php .html .php AddType application/x-httpd-php-source .phps PHPIniDir /etc ``` 이제 설정이 끝났으니 저장(:wq)한다. # 실행 설정이 완료 되었으니 이제 실행해보자. 실행 전 서비스 리스트에 httpd 와 php 가 있는지 확인한다. ```text > brew services list Name Status User File httpd none php none ``` ## httpd 실행 확인 리스트를 확인하였으면 httpd 를 실행한다. (php 는 실행 안해도 된다.) 그럼 우측 상단에 알람이 뜰 것이다.  정말 실행 되었는지도 확인해보자. 브라우저(safari, chrome 등) 를 열어 `localhost` 를 입력해보자.  ## php 실행 확인 php 도 실행되는지 확인해보자. 먼저 터미널을 열어 다음 경로로 이동한다. (`httpd.conf`의 `DocumentRoot` 경로로 이동한다.) ```text > cd /opt/homebrew/var/www ``` `phpinfo.php`파일을 생성하여 다음 내용을 입력한다. ```text > cat phpinfo.php <?php phpinfo(); ?> ``` 다시 브라우저를 실행하여 `localhost/phpinfo.php` 를 입력하면 php 정보를 확인할 수 있는 페이지가 열린다.  ## php 버전 변경 brew 로 설치 가능한 버전을 확인한다. ```text > brew search php ==> Formulae brew-php-switcher shivammathur/php/php@7.2 exolnet/deprecated/php@5.6 shivammathur/php/php@7.2-debug exolnet/deprecated/php@7.0 shivammathur/php/php@7.2-debug-zts exolnet/deprecated/php@7.1 shivammathur/php/php@7.2-zts php ✔ shivammathur/php/php@7.3 php-code-sniffer shivammathur/php/php@7.3-debug php-cs-fixer shivammathur/php/php@7.3-debug-zts php-cs-fixer@2 shivammathur/php/php@7.3-zts php@8.0 shivammathur/php/php@7.4 ✔ php@8.1 shivammathur/php/php@7.4-debug php@8.2 shivammathur/php/php@7.4-debug-zts phpbrew shivammathur/php/php@7.4-zts phpmd shivammathur/php/php@8.0 phpmyadmin shivammathur/php/php@8.0-debug phpstan shivammathur/php/php@8.0-debug-zts phpunit shivammathur/php/php@8.0-zts shivammathur/php/php ✔ shivammathur/php/php@8.1 shivammathur/php/php-debug shivammathur/php/php@8.1-debug shivammathur/php/php-debug-zts shivammathur/php/php@8.1-debug-zts shivammathur/php/php-zts shivammathur/php/php@8.1-zts shivammathur/php/php@5.6 shivammathur/php/php@8.2 shivammathur/php/php@5.6-debug shivammathur/php/php@8.2-debug shivammathur/php/php@5.6-debug-zts shivammathur/php/php@8.2-debug-zts shivammathur/php/php@5.6-zts shivammathur/php/php@8.2-zts shivammathur/php/php@7.0 ✔ shivammathur/php/php@8.4 shivammathur/php/php@7.0-debug shivammathur/php/php@8.4-debug shivammathur/php/php@7.0-debug-zts shivammathur/php/php@8.4-debug-zts shivammathur/php/php@7.0-zts shivammathur/php/php@8.4-zts shivammathur/php/php@7.1 pop shivammathur/php/php@7.1-debug pup shivammathur/php/php@7.1-debug-zts pcp shivammathur/php/php@7.1-zts ==> Casks eclipse-php phpstorm phpwebstudy pop ``` **✔** 표시 되어 있는 항목은 설치가 되었다는 뜻이다. 특정 버전을 설치한다고 가정하면 위 명령어로 나온 항목들에서 찾아서 설치한다. php7.3 을 예로 들면 다음과 같이 설치할 수 있다. ```text > brew install shivammathur/php/php@7.3 ``` 그리고 버전을 변경한다. ```text > vi ~/.zshrc ... export PATH="/opt/homebrew/opt/php@7.3/bin:$PATH" export PATH="/opt/homebrew/opt/php@7.3/sbin:$PATH" ``` 변경한 버전을 적용한다. ```text > source ~/.zshrc ``` 변경된 버전을 확인한다. ```text > php --version ``` Previous Post composer 설치 (Window) Next Post -